This solution may
help to fix if the Nokia 5130 unable to be detected by the PC when being connected via USB. If
the driver is properly installed and the USB
cable wire is okay but something went wrong and the PC wont detect the device.
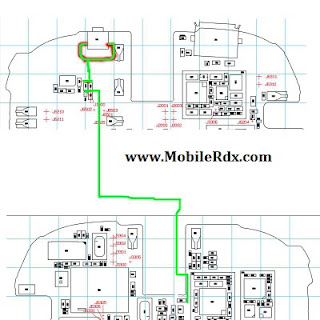
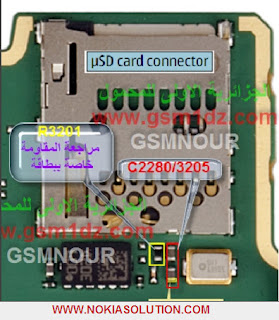
The solution below show which particular components that needs to be check and or replace if found damaged. The USB connector pin and the corresponding components is being highlighted for easy checked up procedures.
Nokia 5130 USB to PC Not Detected Solution
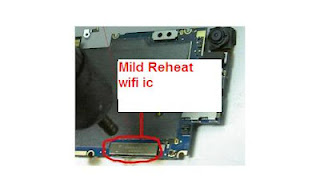
There is a USB transceiver IC mounted near to the USB Pin connector, you may replace this IC if found damaged.
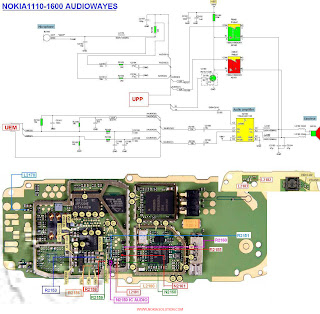
 the information we give this time is the information about the Nokia 8310. On the Nokia 8310 mobile phone is often a problem occurs in Microphone.